Orthogonal projection involves drawing projecting lines perpendicular to a certain plane.
In order to know in depth the term that concerns us now, it is necessary, first of all, to discover the etymological origin of the two words that give it shape:
-Projection derives from Latin, from "proctio". This word, which can be translated as "action and effect of throwing something forward", is composed of the prefix "pro-" (forward); the verb «iacere» (throw) and the suffix «-ción», which is the one used to indicate «action and effect».
-Orthogonal, for its part, emanates from Greek. Specifically, it is the result of the sum of three elements of said language: "orthos" (straight), "gonos" (angle) and the suffix "-al", which is used to indicate a relationship of belonging. Hence it can be translated as "which is at right angles ."
What is an orthogonal projection
Projection is the result of project , a verb that refers to guiding something forward, planning, or making an object visible on the figure of another. Orthogonal , on the other hand, is what is at an angle of ninety degrees.
An orthogonal projection , therefore, is one that is created from the tracing of all the projecting lines perpendicular to a certain plane . In this way, there is a link between the points of that which is projected with the projected points.

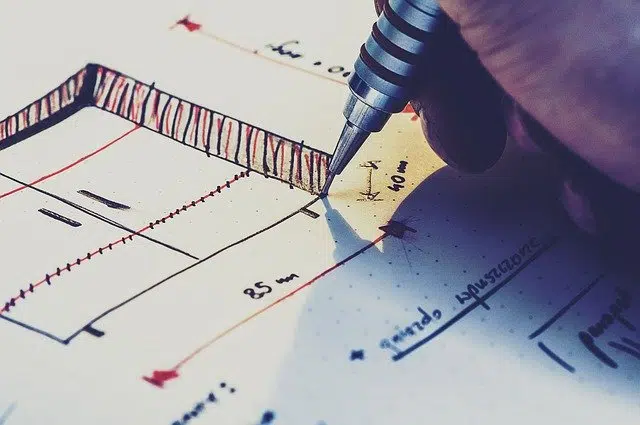
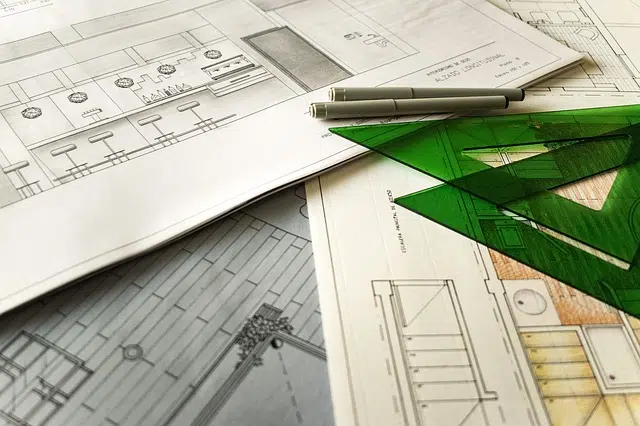
In technical drawing, orthogonal projection is usually used.
Its usefulness
What makes orthogonal projection possible is the drawing of the same object, which is located in space, on different planes. In this way, the result is the possibility of having two or more different points of view of the object in question.
Orthogonal projection is a tool widely used in the field of technical drawing to achieve the graphic representation of an object. There are three major projection planes: profile, vertical and horizontal. The intersection of these planes occurs at ninety degree angles (that is, right angles ), forming various quadrants. All objects, therefore, can be projected into these quadrants.
Orthogonal projection and main views
It is important to know that it is related to the term main views. And these are the orthogonal projections that are carried out of an object on what are six planes that are presented in the shape of a cube. Specifically, the main views of a thing are the elevation, plan and profile.
It must be taken into account that if orthogonal projections gain great value, it is, among other things, because they allow us to discover, in each of the views carried out, properties or characteristics of the object that cannot be perceived in another. . So, for example, in one you can know the width and length and in another, for example, what the depth is.
Orthogonal projections are essential in industry , because all perspectives of an object need to be known before starting its manufacturing. These projections emerged in the 18th century and were promoted by Gaspard Monge .
